Showing posts with label Stencils. Show all posts

Thursday, 18 October 2018

Super Funky Tote Bag


Hello, housemates! I see it's over 7 months since I last did the blog thing. Tut. All I can say is, when your daughter asks you to help out with her wedding invites and all the other crafty stuff, well, you just can't say "No," can you? More of that in a future post...

Anyway, yesterday, I received my much anticipated haul from Carabelle Studios. Some of you may know that Yorkshire's own Kate Crane is now designing for them and her first 'batch' is now available. Did I buy the whole lot direct from Carabelle in France because I was too impatient to wait for UK stockists? Yes. Yes I did. It was rude not to, quite frankly.

 Stencils (including a nice little freebie mask)


 Stamps


Art Printing Plates

So much lovely but where to start? I had to have a place to pin all of my button badges (Kate Crane's) and a tote bag was the perfect place. I was so desperate to monoprint onto the canvas bag using the Art Printing Plates. I thought I had a 6" round gel plate but I only have 4" and 8". 


I never need an excuse to use stencils. This Noughts and Crosses stencil is also available in a smaller size, but using the large one allowed me to do it in one go.


Magenta added when the Fuschia had been lifted.


Finger Painting in the centre. Lemon, Lime and Sky...


Squidge the Art Printing Plate on top...


And yum! A snazzy, bright mix of doodley patterns. I want to call it 'Crane Chaos' but only in a good way, you understand. It's for a tote bag and I'm going to keep it for myself so I can call it what I like. 


Oh, it's looking hopeful!  I should've wiped a bigger circle to allow more of the centre colours to show through...


But it just wasn't liking the canvas of the tote bag. 


I finally managed to get some marks down onto the bag, but it was just a complete mess.


Taking the advice of Mick Jagger and painting it black...


So anyway, the edge is neater. I know I should probably have prepared it somehow; washed it, at least. Pff. I don't have time for things like that when I'm possessed by the muse. So, stencils, it is.


I managed to line up the Noughts and Crosses again...


Then I just had to jump in with the Fiesta round stencil and kill the gorgeous Polka Dots from the Art Printing Plate (there's no time to get precious about these things - I'm nearly finished!)


Perfectly bright and totally fab and groovy.


After I've carefully placed the button badges (available on Kate's Etsy store) my bag is ready to go. I already have black and white pens inside it ready for the final doodle thing.
I LOVE IT!

The moral of the story is, if you get that flat feeling when your project just doesn't look anything like you thought it would, just keep going. Try a different technique or different materials and media. Go right in over the top of the mess you created. Don't get frustrated. And, whatever you do, don't give up.

Love and peace,

Wendy x

PS Art From the Heart in Harrogate is one of the UK stockists, but I think a lot of the items sold out pretty quickly. They will restock, so submit an email request on the items you want.

My Social Media:


Sunday, 9 July 2017

Mixed Up Mag Issue 7 Jun/Jul 2017

Hello, my crafty friends. I'm so happy to tell you that I have a tutorial in the latest issue of Mixed Up Mag.


In case you've never heard of it (in which case, where have you BEEN?), Mixed Up Mag is a wonderful online publication that is guaranteed to spark your creative juices, inspire you to try something new and excite the senses so much that you ditch the laundry and pick up your paints.

Issue 7 is a book-making special with several different ways to make your own books. And who doesn't love books? My tutorial (P54, if you're interested) is on making a coptic-stitched book. I made a sketchbook and liked it so much that I kept it for myself. Because I can.

Front cover

Mixed Up Mag is interactive and has articles that enable you to swipe photos for more views and even has embedded video tutorials to accompany the step-by-step written articles. My sketchbook tutorial comes with such a video. It's 40 minutes long, so Editor, Katy Leitch, advises you to get yourself a cuppa and relax while you watch it. I took it slowly (no sense in rushing, right?) so it's a bit easier to follow than some others.

Back cover

I hope you get a chance to take a look and I'd love to see anything that I may have inspired you to make. It's easier than it looks, I promise. 

See how to download this fab online mag here.

Love and peace,

Wendy x


Friday, 29 July 2016

First Night Nerves

Evening all. Thanks for bobbing in.

This is my first post for Wendy's House and I'm more than delighted that it will mainly be about Paperartsy Fresco paint. I've definitely discovered my go-to medium.

Initially, I saw a YouTube video of Vicky Papaioannou creating a journal page using Fresco paint with a brayer. I loved the way that the paint skimmed the paper. This was a look that I constantly tried to achieve in uni. Instead of using sandpaper, screwdrivers, wire wool, bread-knife, anything else to scratch back, I should've just brayered the paint on really lightly. It would have avoided the 'over-worked' look and given my illustrations the free and loose feel that I craved.


I started by ordering the colours that Vicky had used in her journal. When they arrived, I painted 12 ATCs (artists' trading cards) with them, just using a tiny amount on the end of my finger. I find this is the best way to get a proper feel for a new product. They were so smooth and chalky and they dried  almost instantly. I was hooked already!

Then I discovered a gem that Leandra Franich, from Paperartsy, had uploaded...


I used the paints that I already had and started playing.

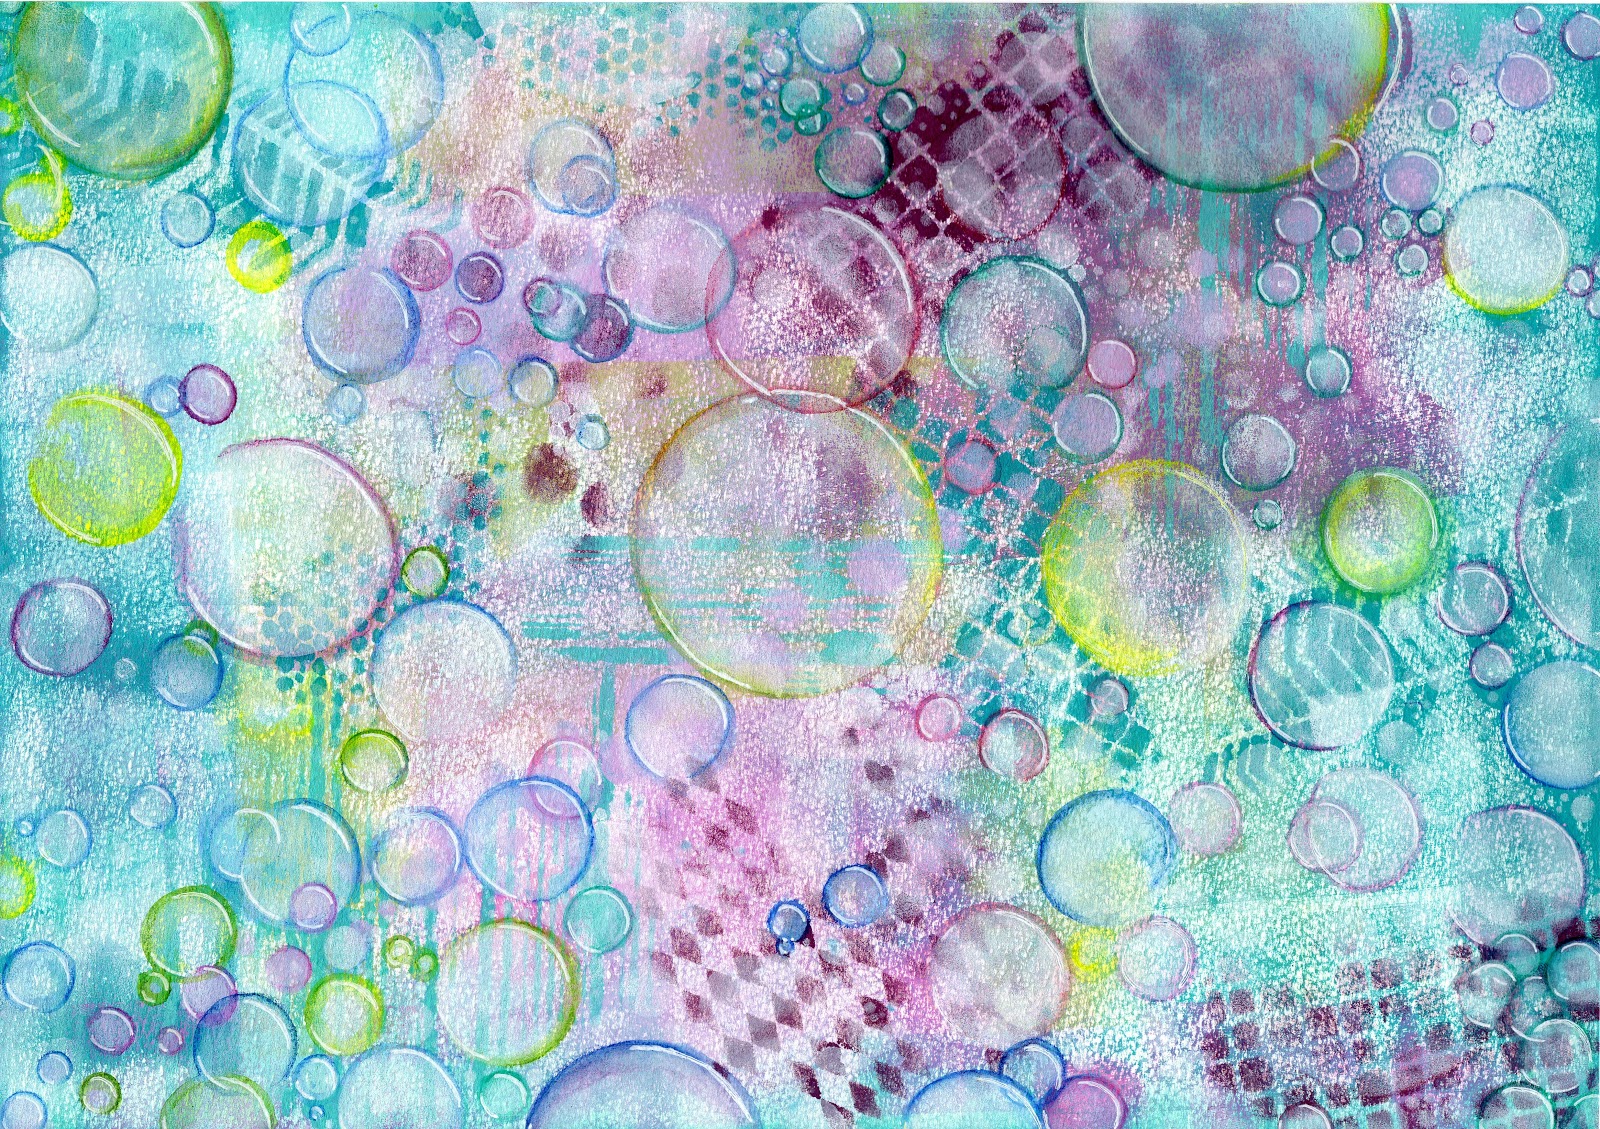
Using Winsor & Newton Artists' Water Colour Paper, I brayered happily away. I probably overdid it, but I used Cheesecake, Guacamole, Mermaid, Caribbean Sea, Dolly Mix and Sour Grapes to lay down the first few layers. They dry so quickly, that it's almost impossible to make 'mud' using this method. I very lightly applied the paint with a brayer and only stopped when I was happy with the colour combinations on the paper. 


Next, I used the darker tones of Captain Peacock and Plum through several Tim Holtz mini layering stencils. I knocked back the darkness with some of Darcy Wilkinson's lovely bubbles (PS031) and more Dolly Mix.


This then spurred me into getting out my favourite Donna Downey 'Bubbles' stencil.  I gently sponged Snowflake bubbles all over the A3 sheet.


I decided that the bubbles weren't 'bubbly' enough and needed something to make them pop (s'cuse pun!) Out came my Derwent Inktense pencils and a water brush. 


Finished off with a little white highlight here and there et voila! 


Overall, it didn't take as long as this blogpost! I promise to keep them a little shorter in future.

Love and peace x


01 09 10